


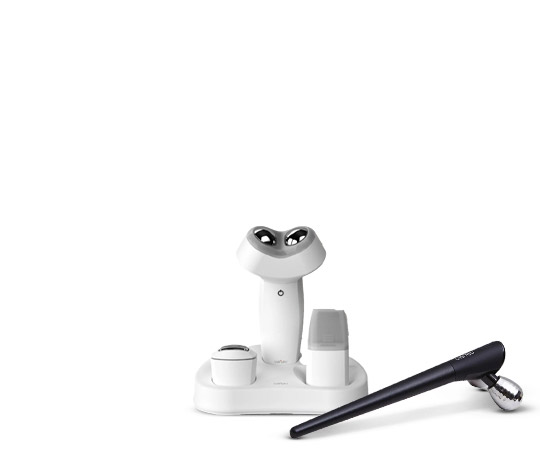


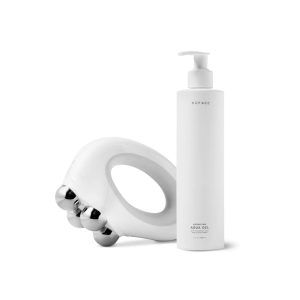
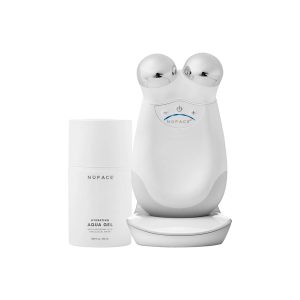
NuFACE Trinity Facial Toning Device With Ele and Twr Attachment
Only 2 left in stock
Features
- Helps tone, lift, and contour the facial muscles with a 5-Minute Facial-Lift®
- Reduces the appearance of fine lines and wrinkles around the eyes, brows and lips (with Effective Lip & Eye Attachment)
- Treat full-face wrinkles (with Wrinkle Reducer Attachment)
- FDA-Cleared, Aesthetician-Created
- Includes our Aqua Gel Activator to conduct microcurrent down to the facial muscle and hydrate skin for up to 24 hours!
AED 2,600
Only 2 left in stock
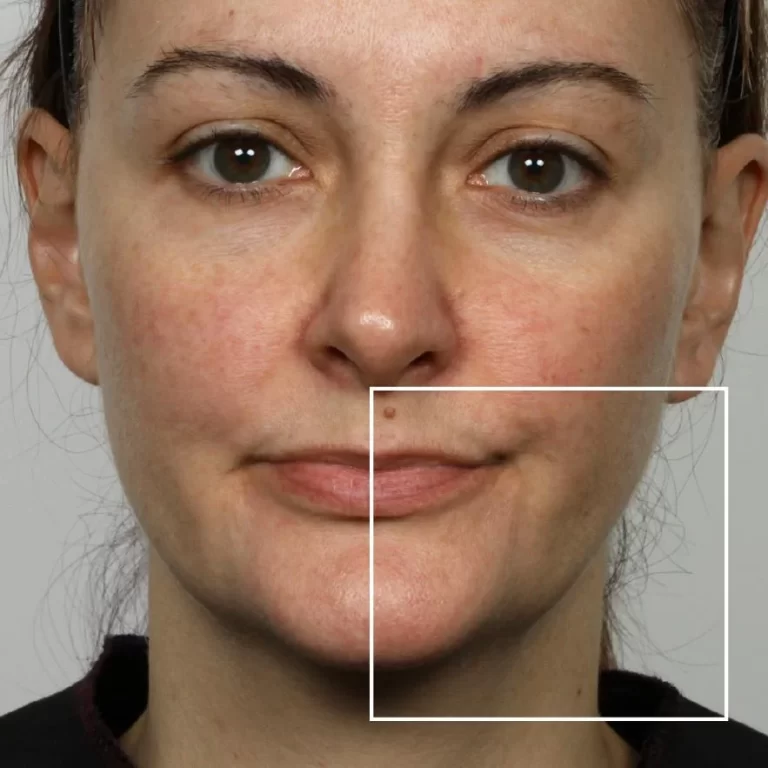
CompareEAN: 850004079522Real Results
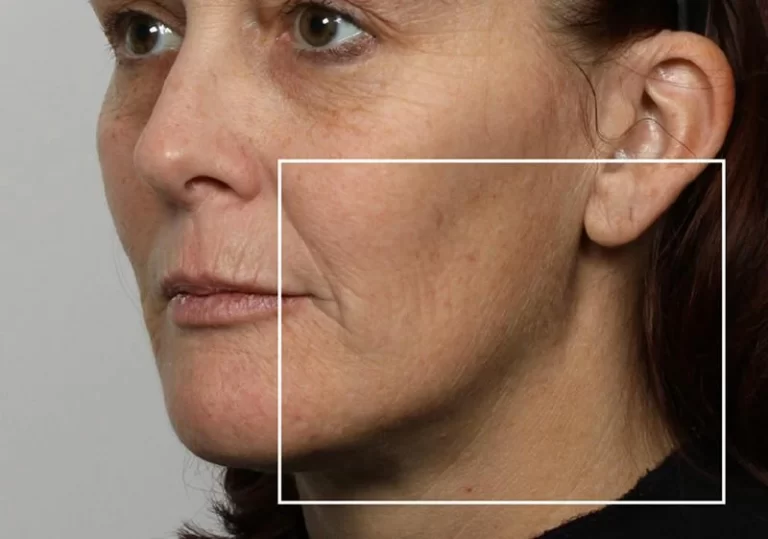
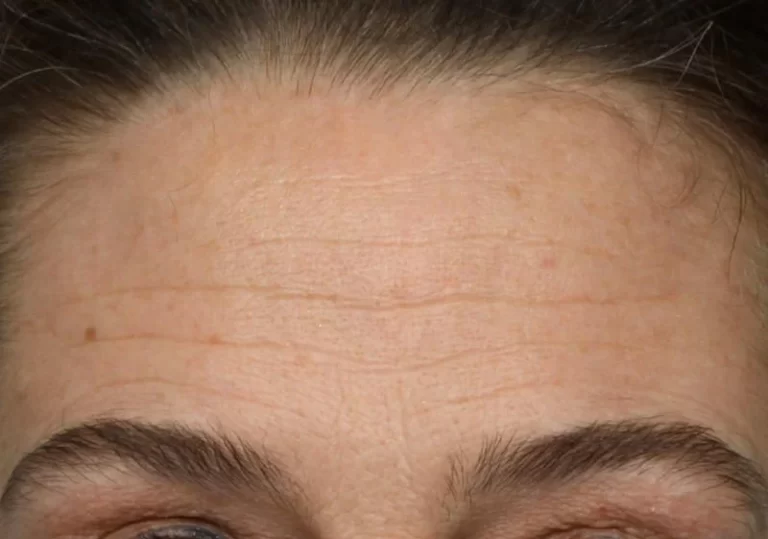
85% of users experienced improved facial contour*
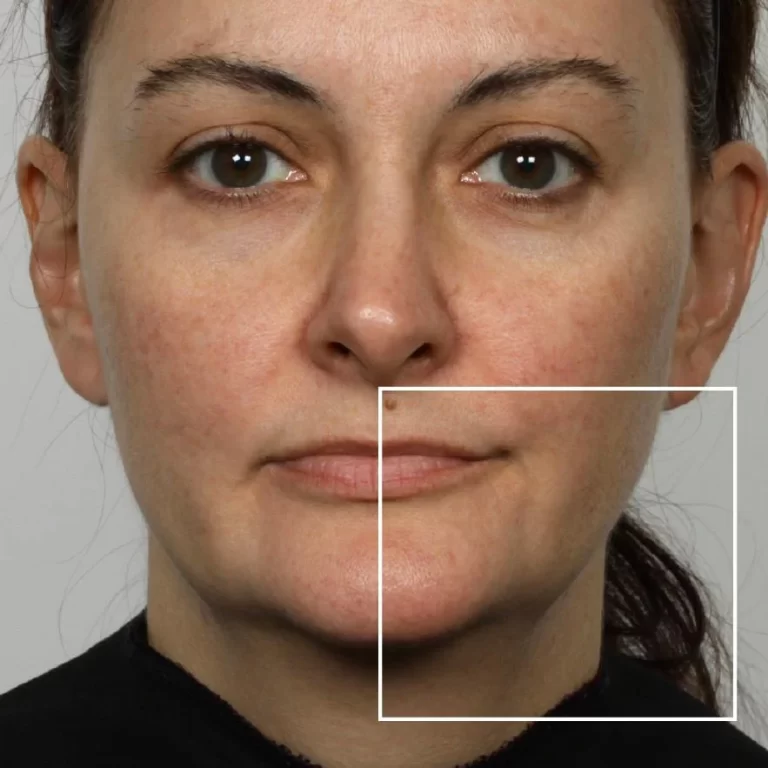
Baseline
Day 60

Baseline
Day 60
Baseline
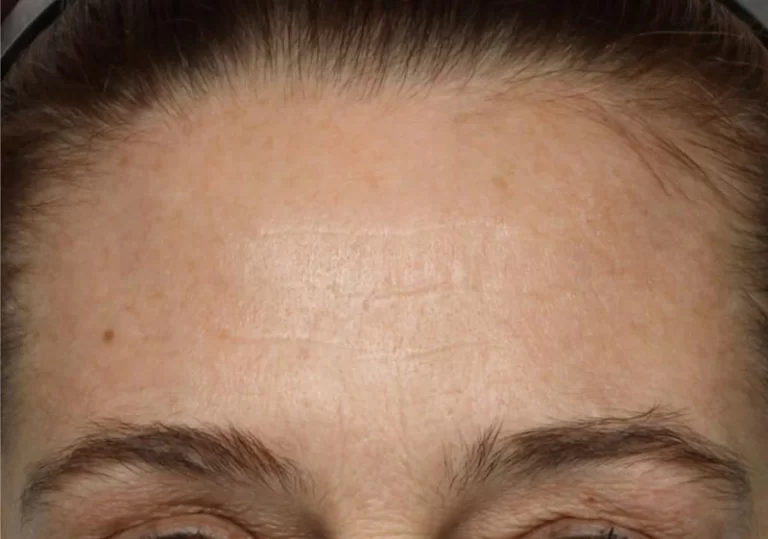
Day 60
How to Use
STEPS 1
CLEANSE
Remove, makeup and cleanse with an oil-free cleanser or use the smooth side of the NuFACE Facial Towelette
STEPS 2
BOOST
Apply 3-5 drops for full face coverage of appropriate NuFACE Booster onto fingertips and massage into clean dry skin until fully absorbed.
STEPS 3
ACTIVATE
Apply a mask-like layer of appropriate NuFACE Activator using NuFACE Applicator Brush in sections as you treat.
STEPS 4
LIFT 15 minutes
Perform glides/holds using the NuFACE Trinity with Facial Trainer Attachment or Mini Device on neck and face. Once Treatment is complete, massage remaining NuFACE Activator into skin. Finish by applying facial moisturizer, eye cream and SPF on the face, neck, décolleté and ears.
GLIDES : Glide spheres in the direction of the arrows until the beep sounds. Complete steps 1-2-3 sequence 3 times for each area.
HOLDS : Lift and hold each position for 1-2 beeps. No repeating.
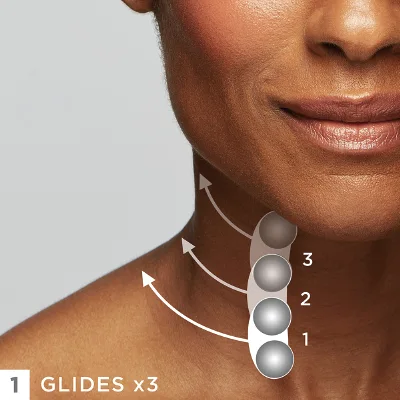
GLIDE 1 – Place the spheres vertically above your collarbone avoid the mid-line and glide slowly toward the back of your neck.
GLIDE 2 – Place the spheres vertically at the middle of your neck avoid the mid-line and glide slowly toward the back of your neck.
GLIDE 3 – Place the spheres vertically under your jawline avoid the mid-line and glide slowly toward the back of your neck.
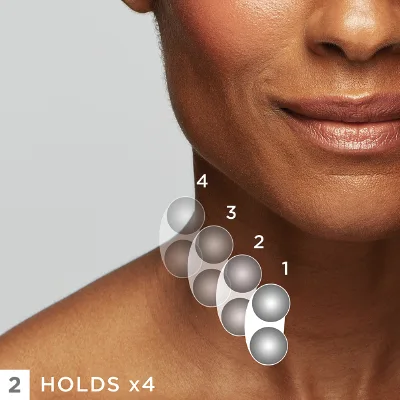
GLIDE 1 – Place the spheres vertically just above your collarbone, lift and hold.
GLIDE 2 – Take a step towards the back of your neck to the second position, lift and hold.
GLIDE 3 – Take a step towards the back of your neck to the third position, lift and hold.
GLIDE 4 – Take a step towards the back of your neck to the fourth position, lift and hold.
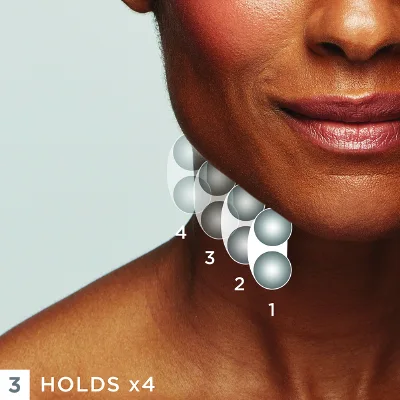
GLIDE 1 – Moving up towards the middle of the neck, place the spheres vertically slightly off center, lift and hold.
GLIDE 2 – Take a step towards the back of your neck to the second position, lift and hold.
GLIDE 3 – Take a step towards the back of your neck to the third position, lift and hold.
GLIDE 4 – TTake a step towards the back of your neck to the fourth position, lift and hold
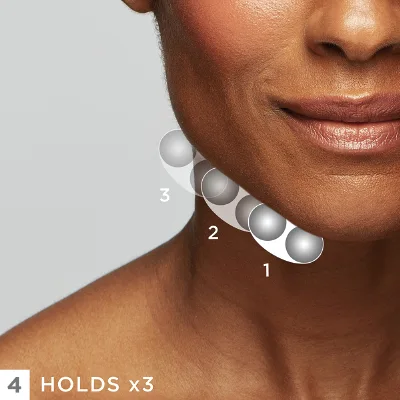
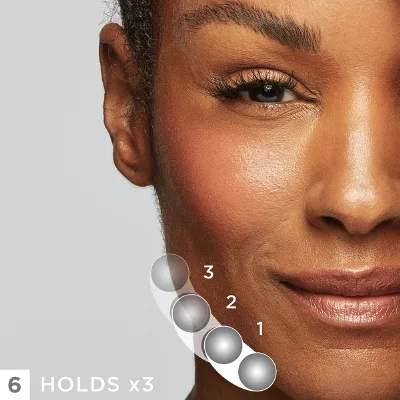
GLIDE 1 – Place the spheres horizontally under your jawline avoid the midline, lift and hold.
GLIDE 2 – Take a step back to the second position, lift and hold.
GLIDE 3 – Take a step back to the third position, lift and hold.
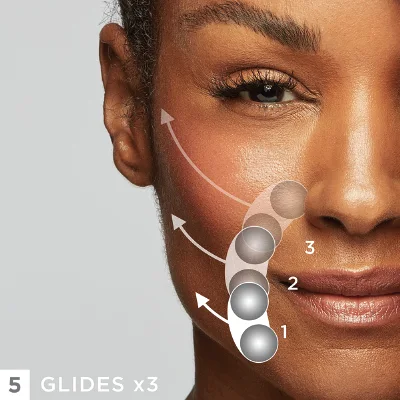
GLIDE 1 – Starting above the jawline, place the spheres vertically just left of your mouth and glide slowly back towards your ear.
GLIDE 2 – Place the spheres vertically just left of your nose, hugging your cheekbone, glide slowly back towards your ear.
GLIDE 3 – Place the spheres vertically at the top of your cheek, glide slowly back towards your ear.
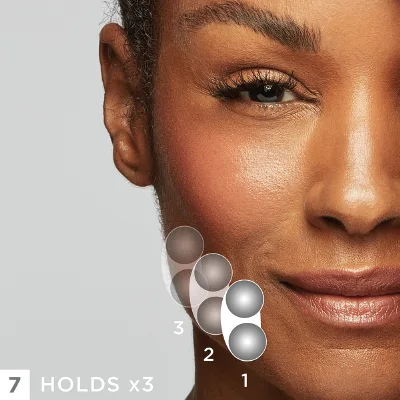
GLIDE 1 – Starting along the jawline, place the spheres horizontally just left of your mouth. Lift and hold.
GLIDE 2 – Take a step back towards your ear to the second position, lift and hold.
GLIDE 3 – Take a step back towards your ear to the third position, lift and hold.
GLIDE 2 – Take a step back towards your ear to the second position, lift and hold.
GLIDE 2 – Take a step towards the back of your neck to the second position, lift and hold.
GLIDE 3 – Take a step back towards your ear to the third position, lift and hold.
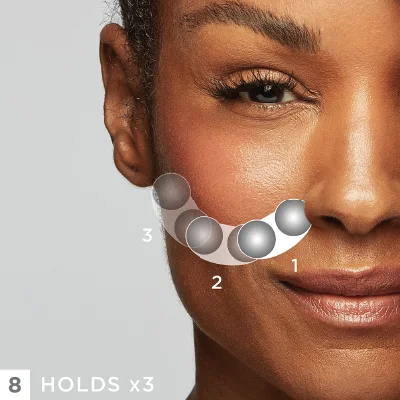
GLIDE 1 – Place the spheres horizontally under your cheekbone just left of your nose, lift and hold.
GLIDE 2 – Following the contour of your cheekbone, take a step back towards your ear, lift and hold.
GLIDE 3 – Take another step back towards your ear to the last position along your cheekbone. Lift and hold.
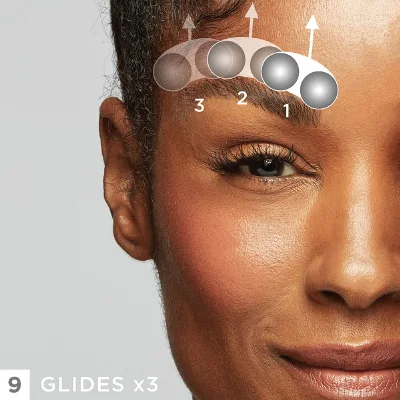
GLIDE 1 – Place the spheres horizontally on the forehead. Begin the first glide at the thick of the brow gliding slowly towards your hairline.
GLIDE 2 – Place the spheres at the arch of the brow and glide slowly towards your hairline.
GLIDE 3 – Place the spheres at the tail of the brow and glide slowly towards your hairline.
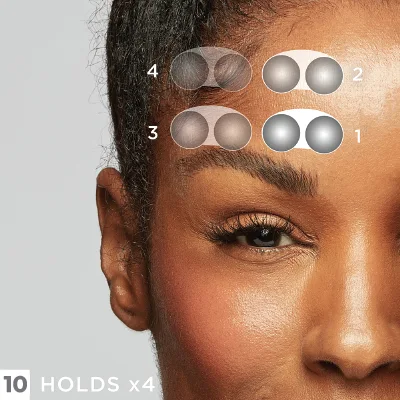
GLIDE 1 – Place the spheres horizontally above the thick of the brow. Lift slightly and hold.
GLIDE 2 – Move up towards your hairline above the thick of the brow, lift slightly and hold.
GLIDE 3 – Place the spheres above the arch of the brow. Lift slightly and hold
GLIDE 4 – Move up towards your hairline above the arch of the brow, lift slightly and hold.
| Brand: | Nuface |
| Color: | White |
| Volume: | Primer: 50ml |
| Device Measurements: | 5 ̋(L) x 3 ̋(W) x 1 ̋(D) |
| Device Net Weight: | 81.4 g |
| System Kit Gross Weight: | 1.27 kg |
Note: This product is a skincare device, not a medical device. It provide beauty benefits only but doesn’t provide any product function for medical efficacy.


There are no reviews yet.